Moxel
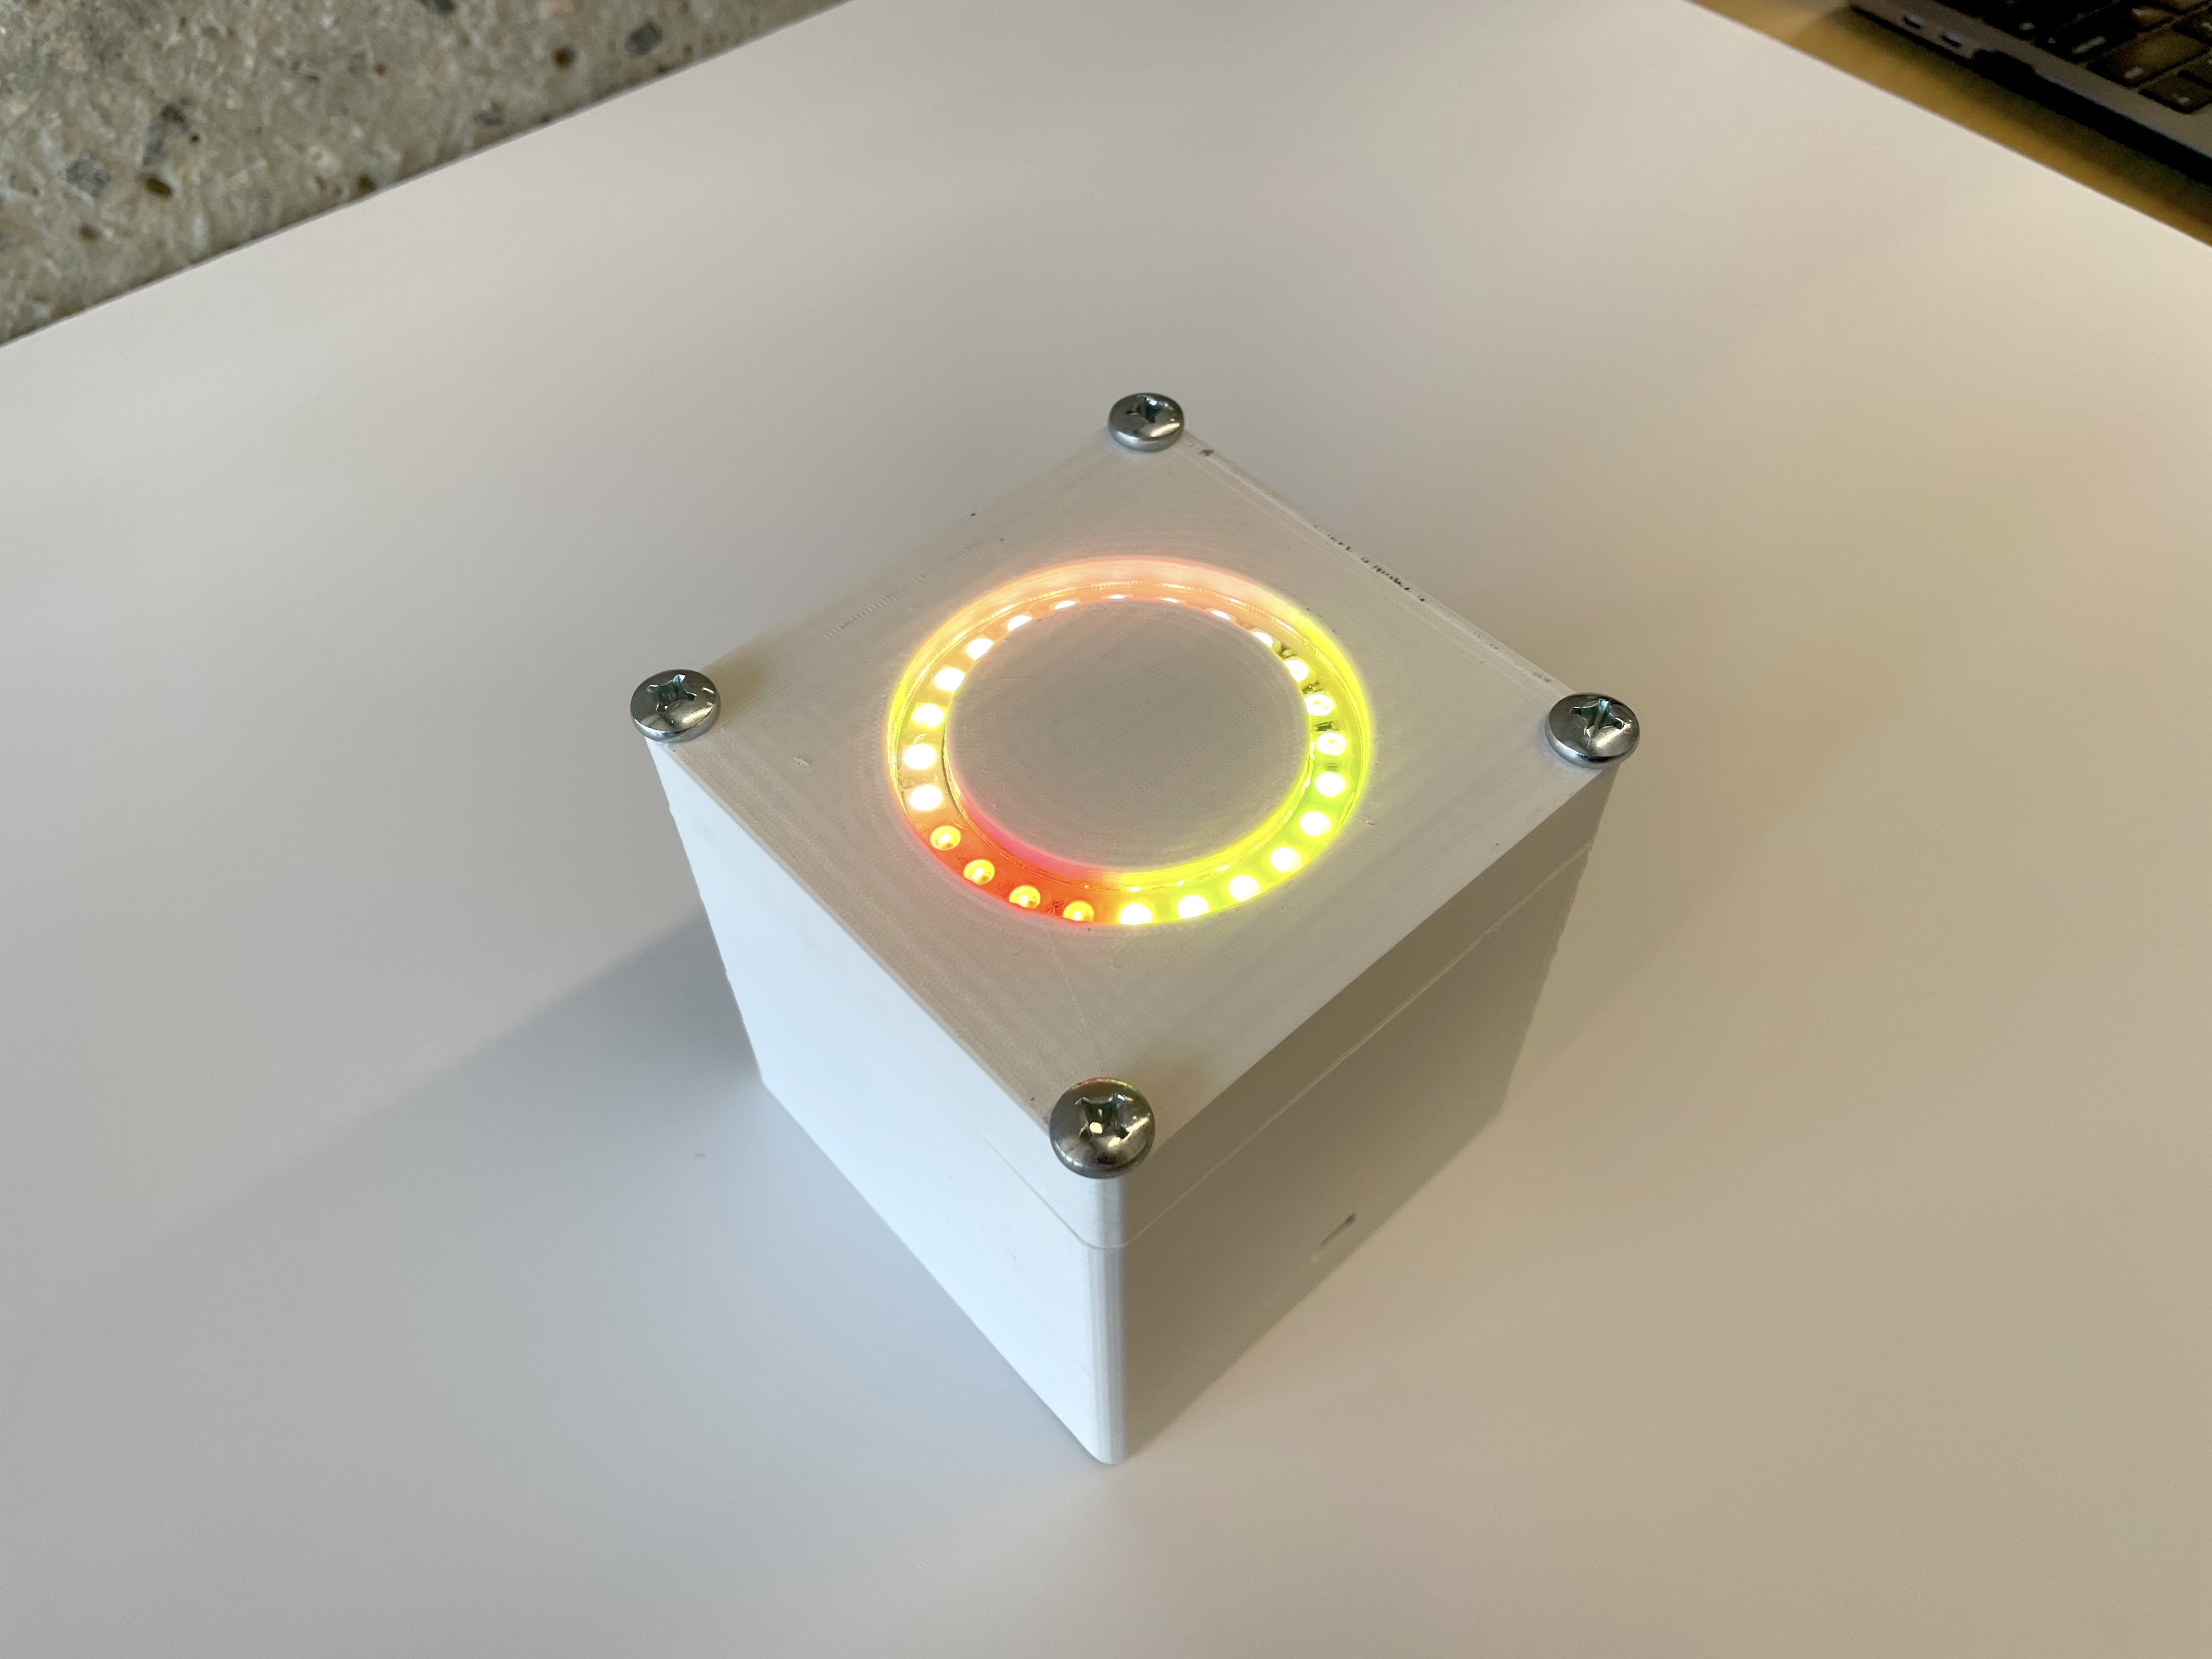
The Moxel (a portmanteau of Mosquitto/MQTT and NeoPixel) is an open source smart light built with off the shelf parts. It works with minimal configuration, but is hackable and extendable to serve your needs.
Table of contents
Hardware
Electronics
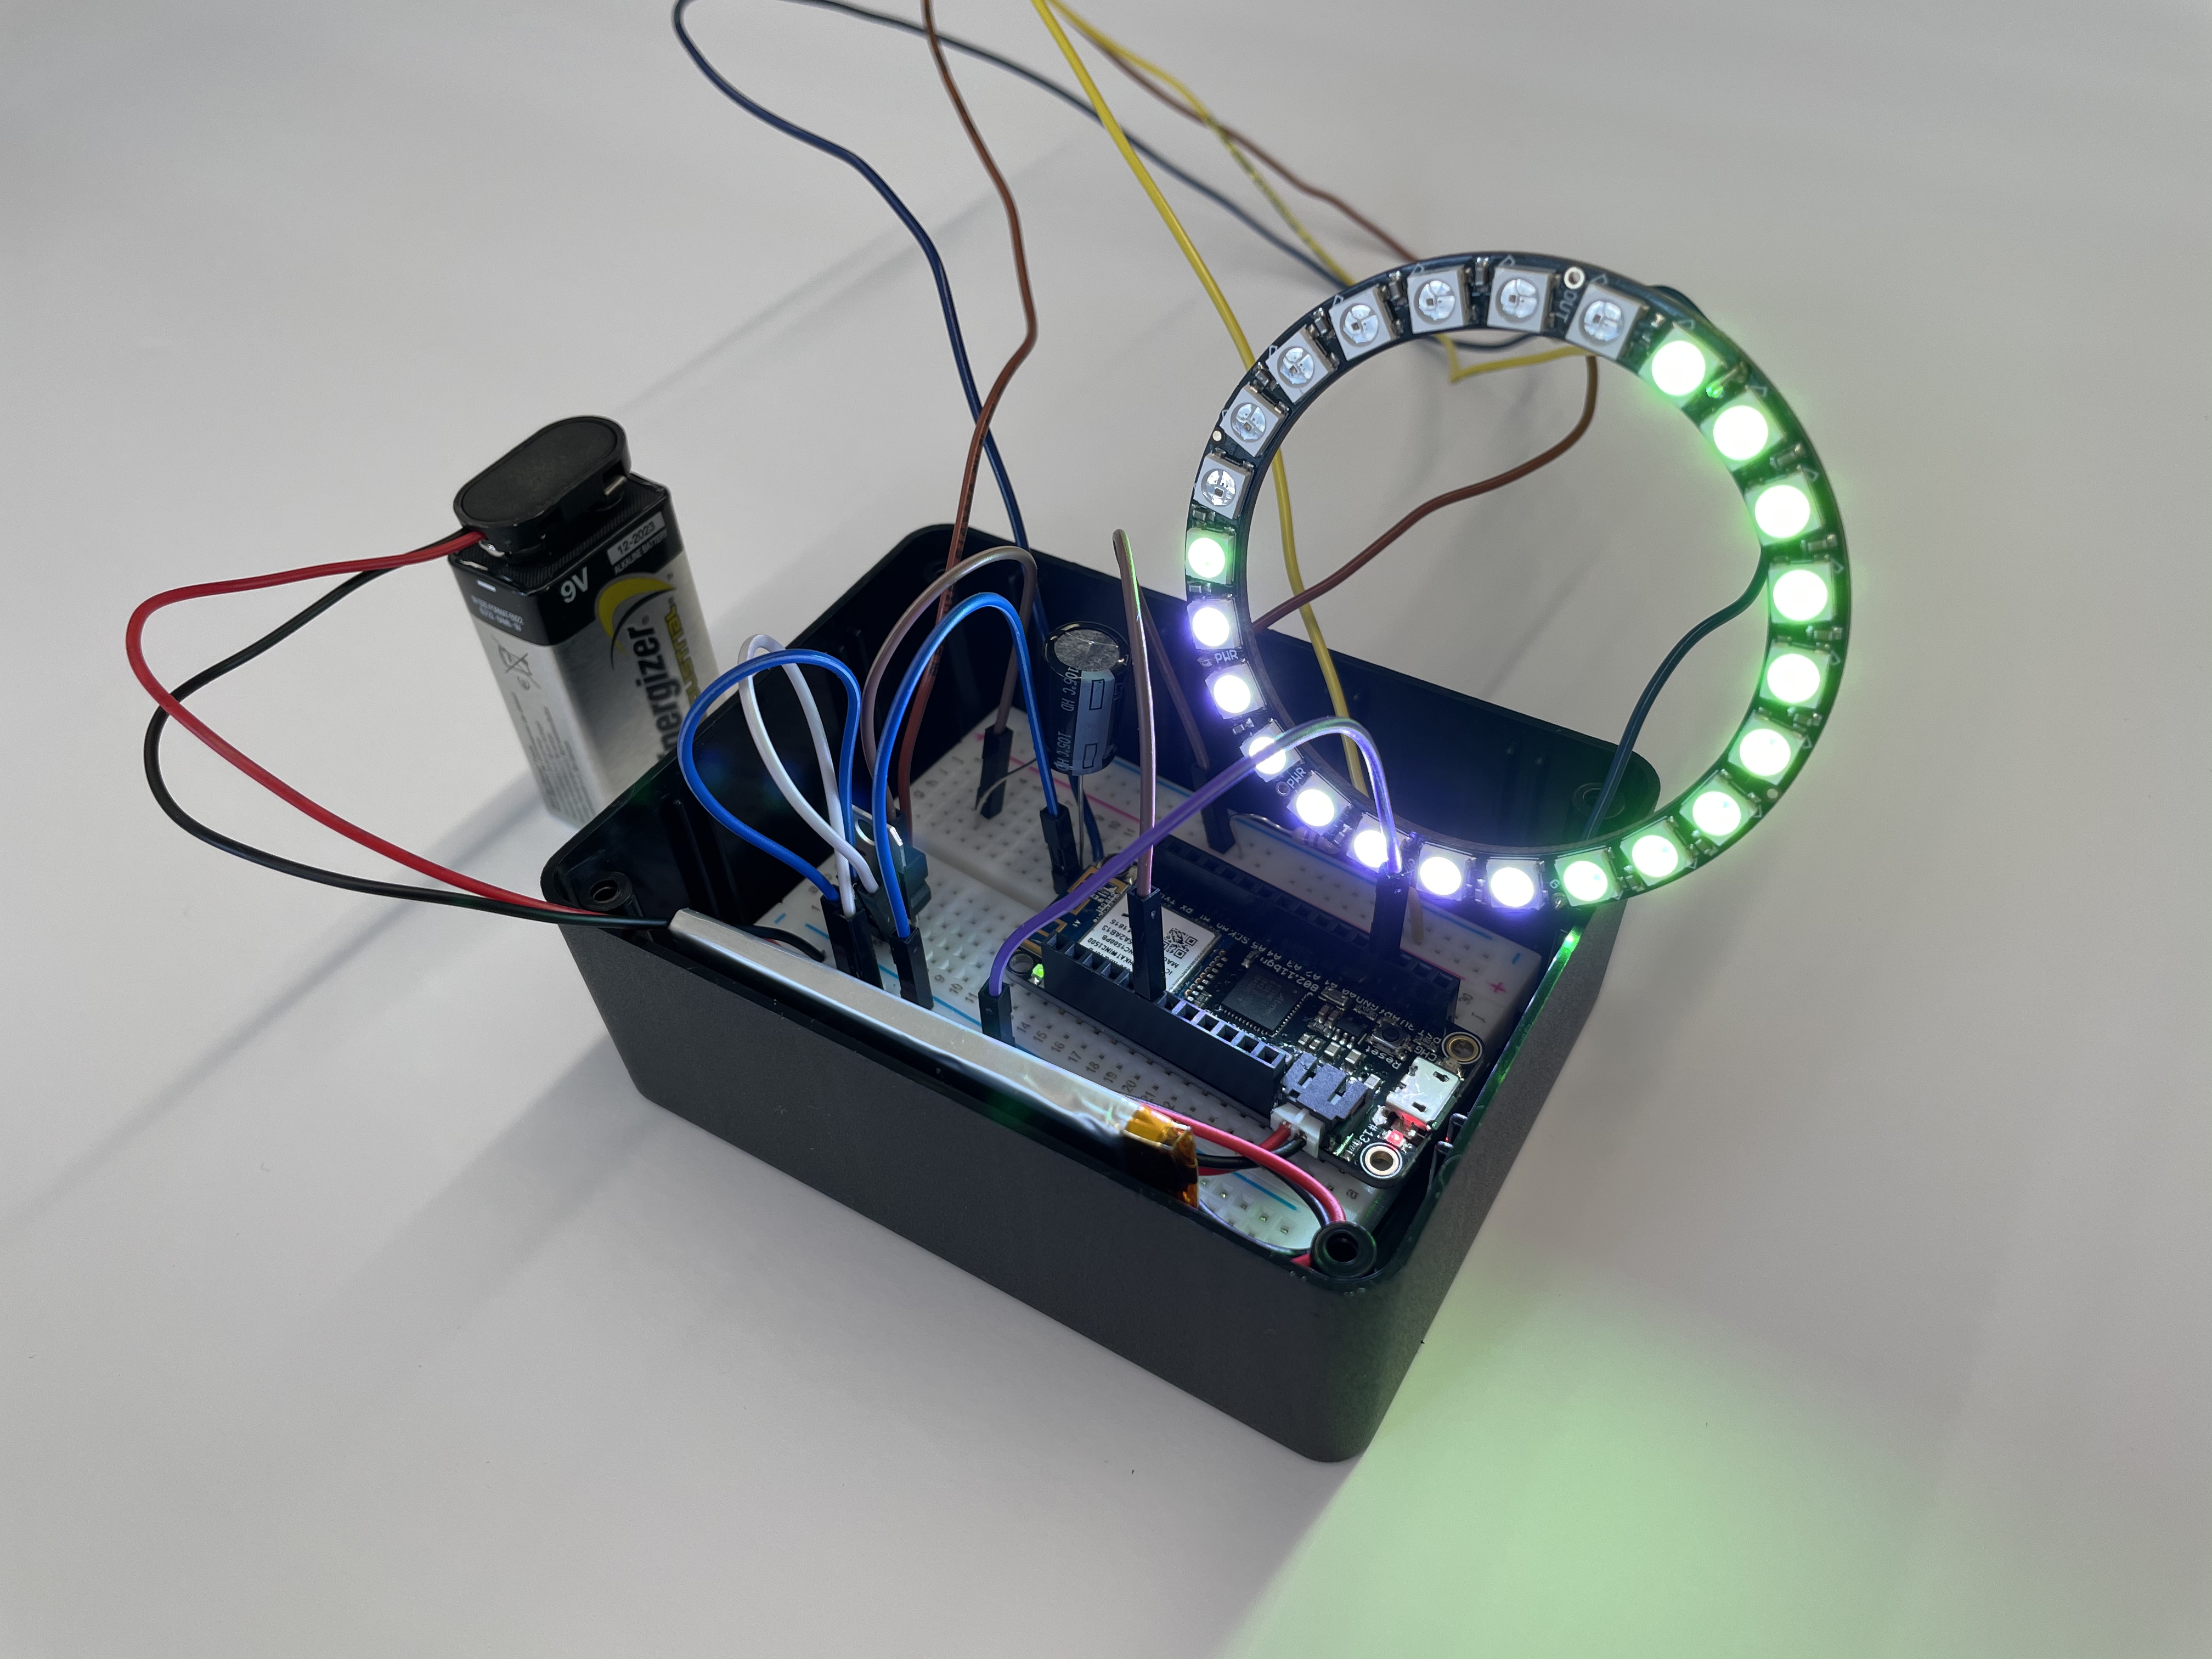
To build your own Moxel, you need:
- 1 x Arduino with a WiFi chip (I use the Feather M0 WiFi from Adafruit)
- 1 x LiPo battery to power the Arduino
- 1 x NeoPixels ring (I use this 24 LED one from Adafruit)
- 1 x 5V power source for the NeoPixels (I use a 9V battery and a voltage regulator)
- Jumper wire and a small breadboard (alternatively, you may elect to solder connections)
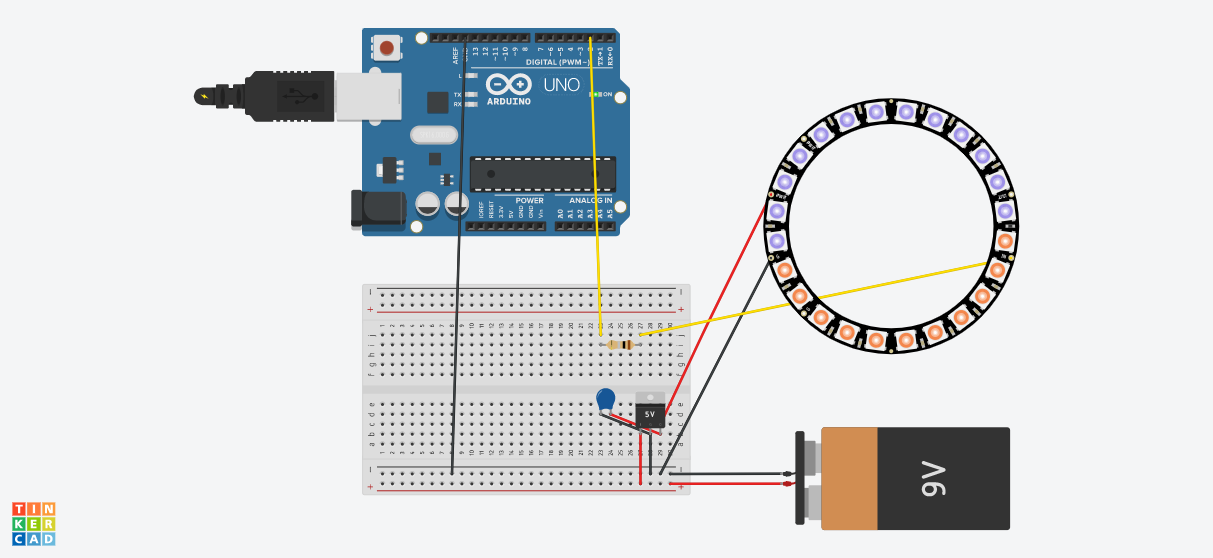
To start, you need to wire up your Arduino to your NeoPixels. I recommend the Adafruit UberGuide to learn how to do this safely. I have a sample diagram below:
CAD models
Once you've assembled everything, you can house it in this case:
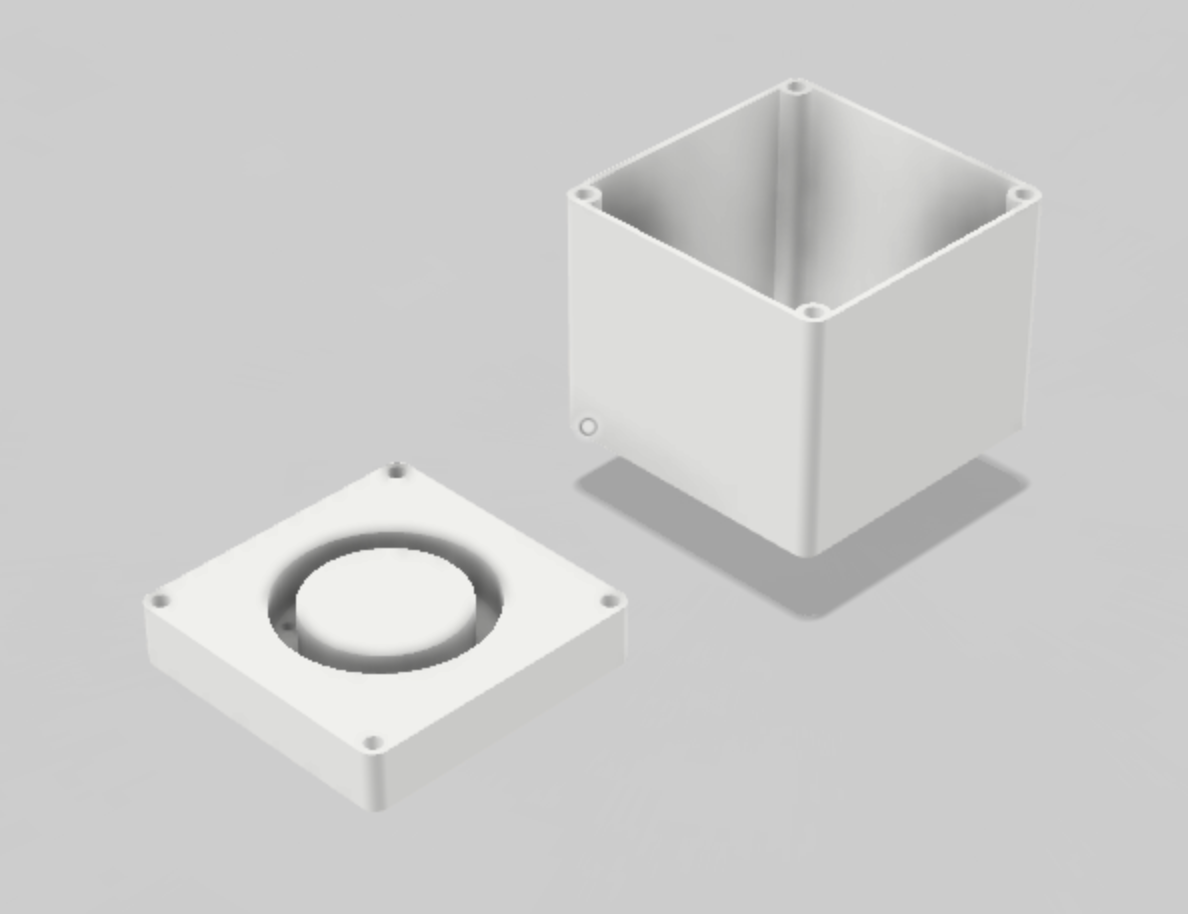
The CAD files are available on the GitHub repository: https://github.com/sarimabbas/moxel
Software
All software can be found on the GitHub repository: https://github.com/sarimabbas/moxel
The general idea is that we can communicate with the Arduino over the Internet with minimal code (no servers required) by using the MQTT protocol and a public broker. If you've never encountered MQTT before, it is kind of similar to HTTP (although some brokers support MQTT over HTTP and WebSockets too), but differentiated by a publish/subscribe architecture.
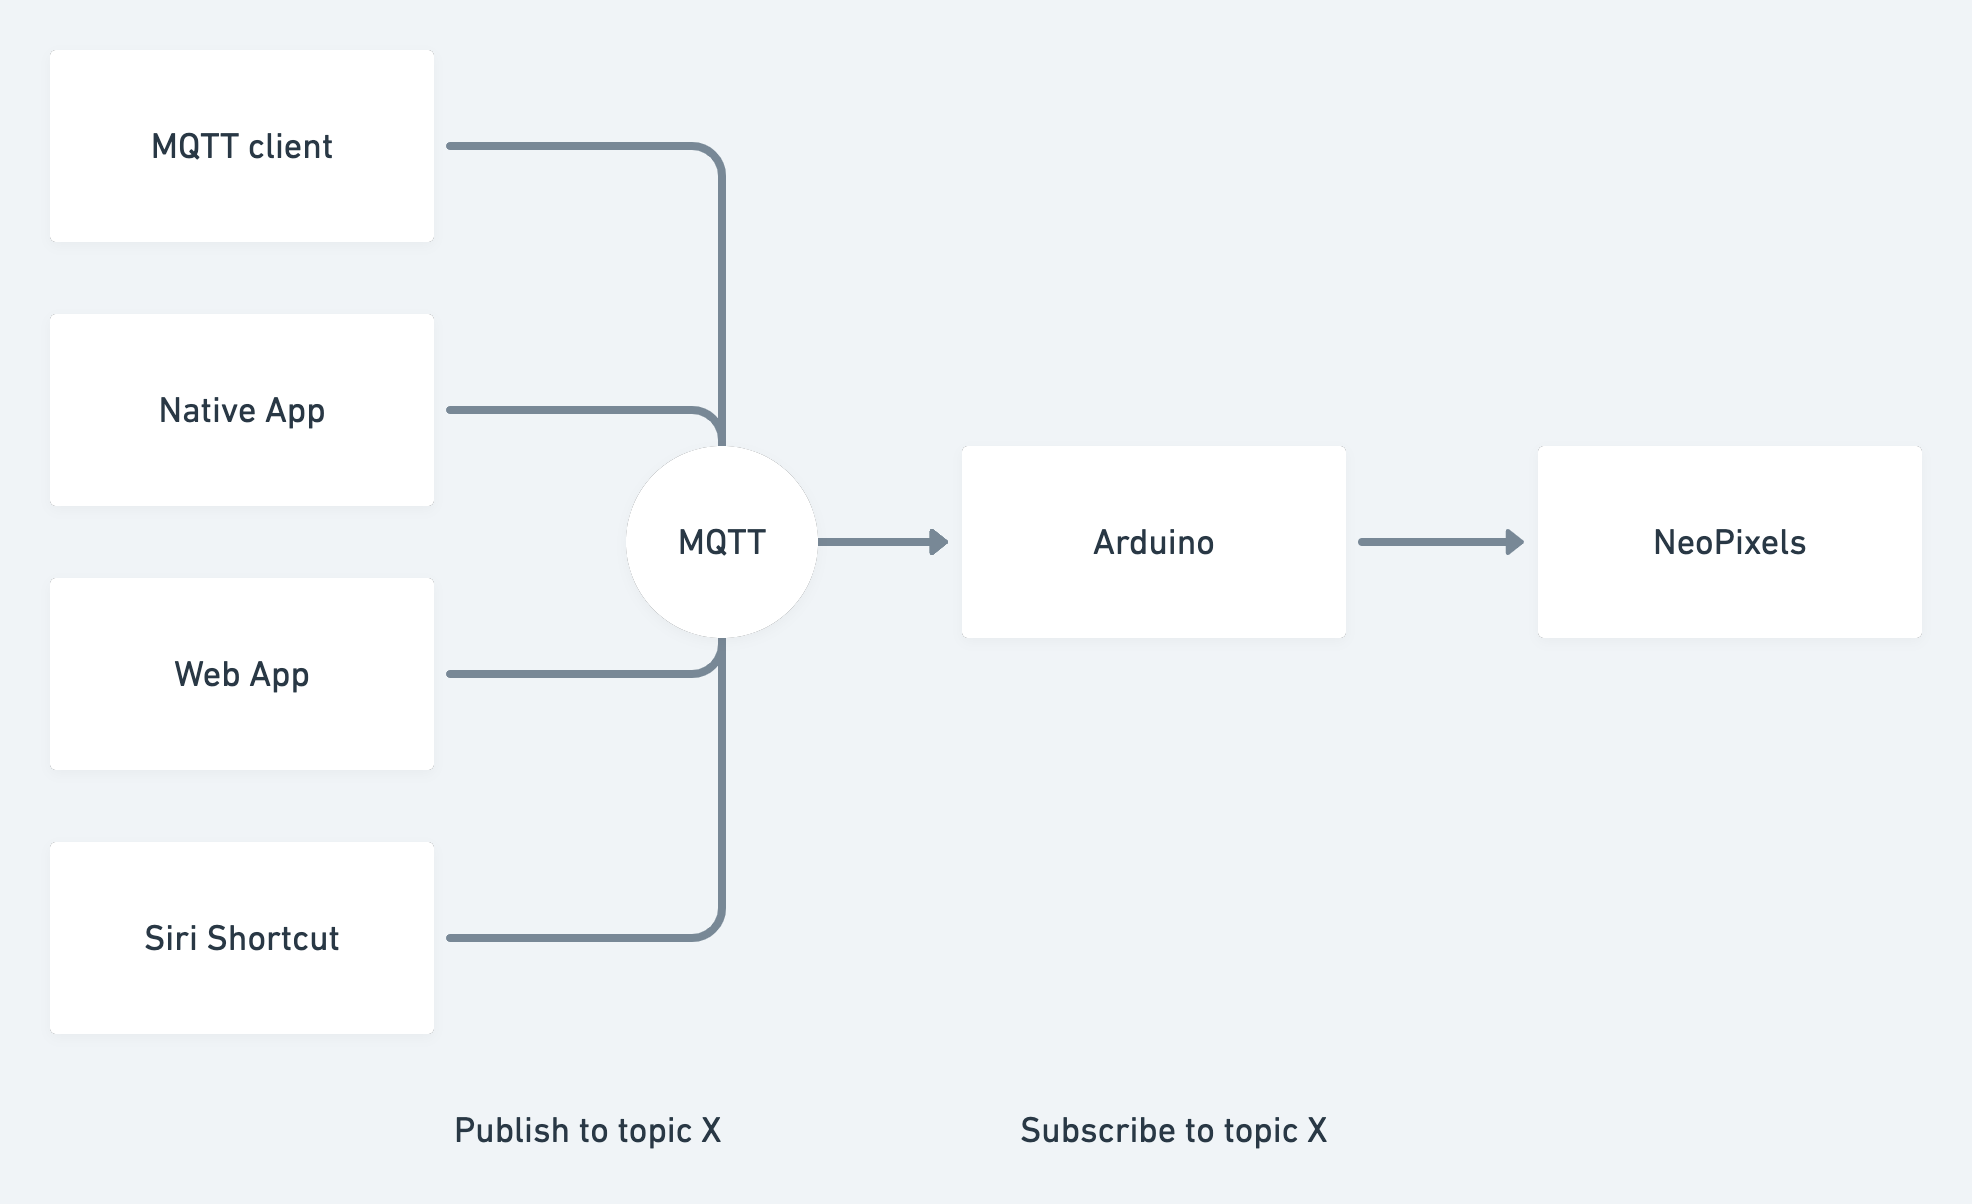
The diagram above shows how you might send commands or data to an Arduino from any client of your choosing. Bidirectional, one-to-many and many-to-many communication models are also possible with the publish/subscribe architecture, so you could control an entire fleet of Moxels if you wanted.
Arduino
The Arduino code is straightforward and can be found on the linked GitHub repository above. You will need to edit the code with your WiFi credentials and pins, the NeoPixels pins and the MQTT configuration. Note how the WiFi pins are set differently for the Feather. For the MQTT config, you can choose to continue using the public broker, but you may want to change the topic to some random string for quasi-privacy.
The high-level overview of the Arduino code is that it attempts to connect to WiFi and the MQTT broker, after which it listens for messages on the subscribed topic. Currently, it expects a message in the following format:
{
  "red" : [255, 0, 0, ...],
  "green": [0, 255, 0, ...],
  "blue": [0, 0, 255, ...]
}
The above is JSON, with three separate arrays for the RGB components of the 24 (or however many) LEDs on the NeoPixels ring. Currently, this information is used to set the pixels in quick succession, but you can edit that code to behave however you want (you may want to set all the pixels at once, or do two loops around the ring instead of one etc.)
React App
Now that the Arduino is connected to the Internet and listening for messages on your set MQTT topic, the sky is the limit for how you want to interface with it. You could create a Siri shortcut, write an Alexa integration, or make a web app. I have created a sample web app to show how this might be done, and it is part of the same GitHub repository linked above.
You can view a live version of this app here: https://moxel.netlify.app.
The React app has a visual representation of the 24 LEDs on the NeoPixels ring. It uses react-selecto to let the user drag-select multiple pixels. It uses react-colorful to set their colors. The payload is published to the desired MQTT topic using mqtt.js.
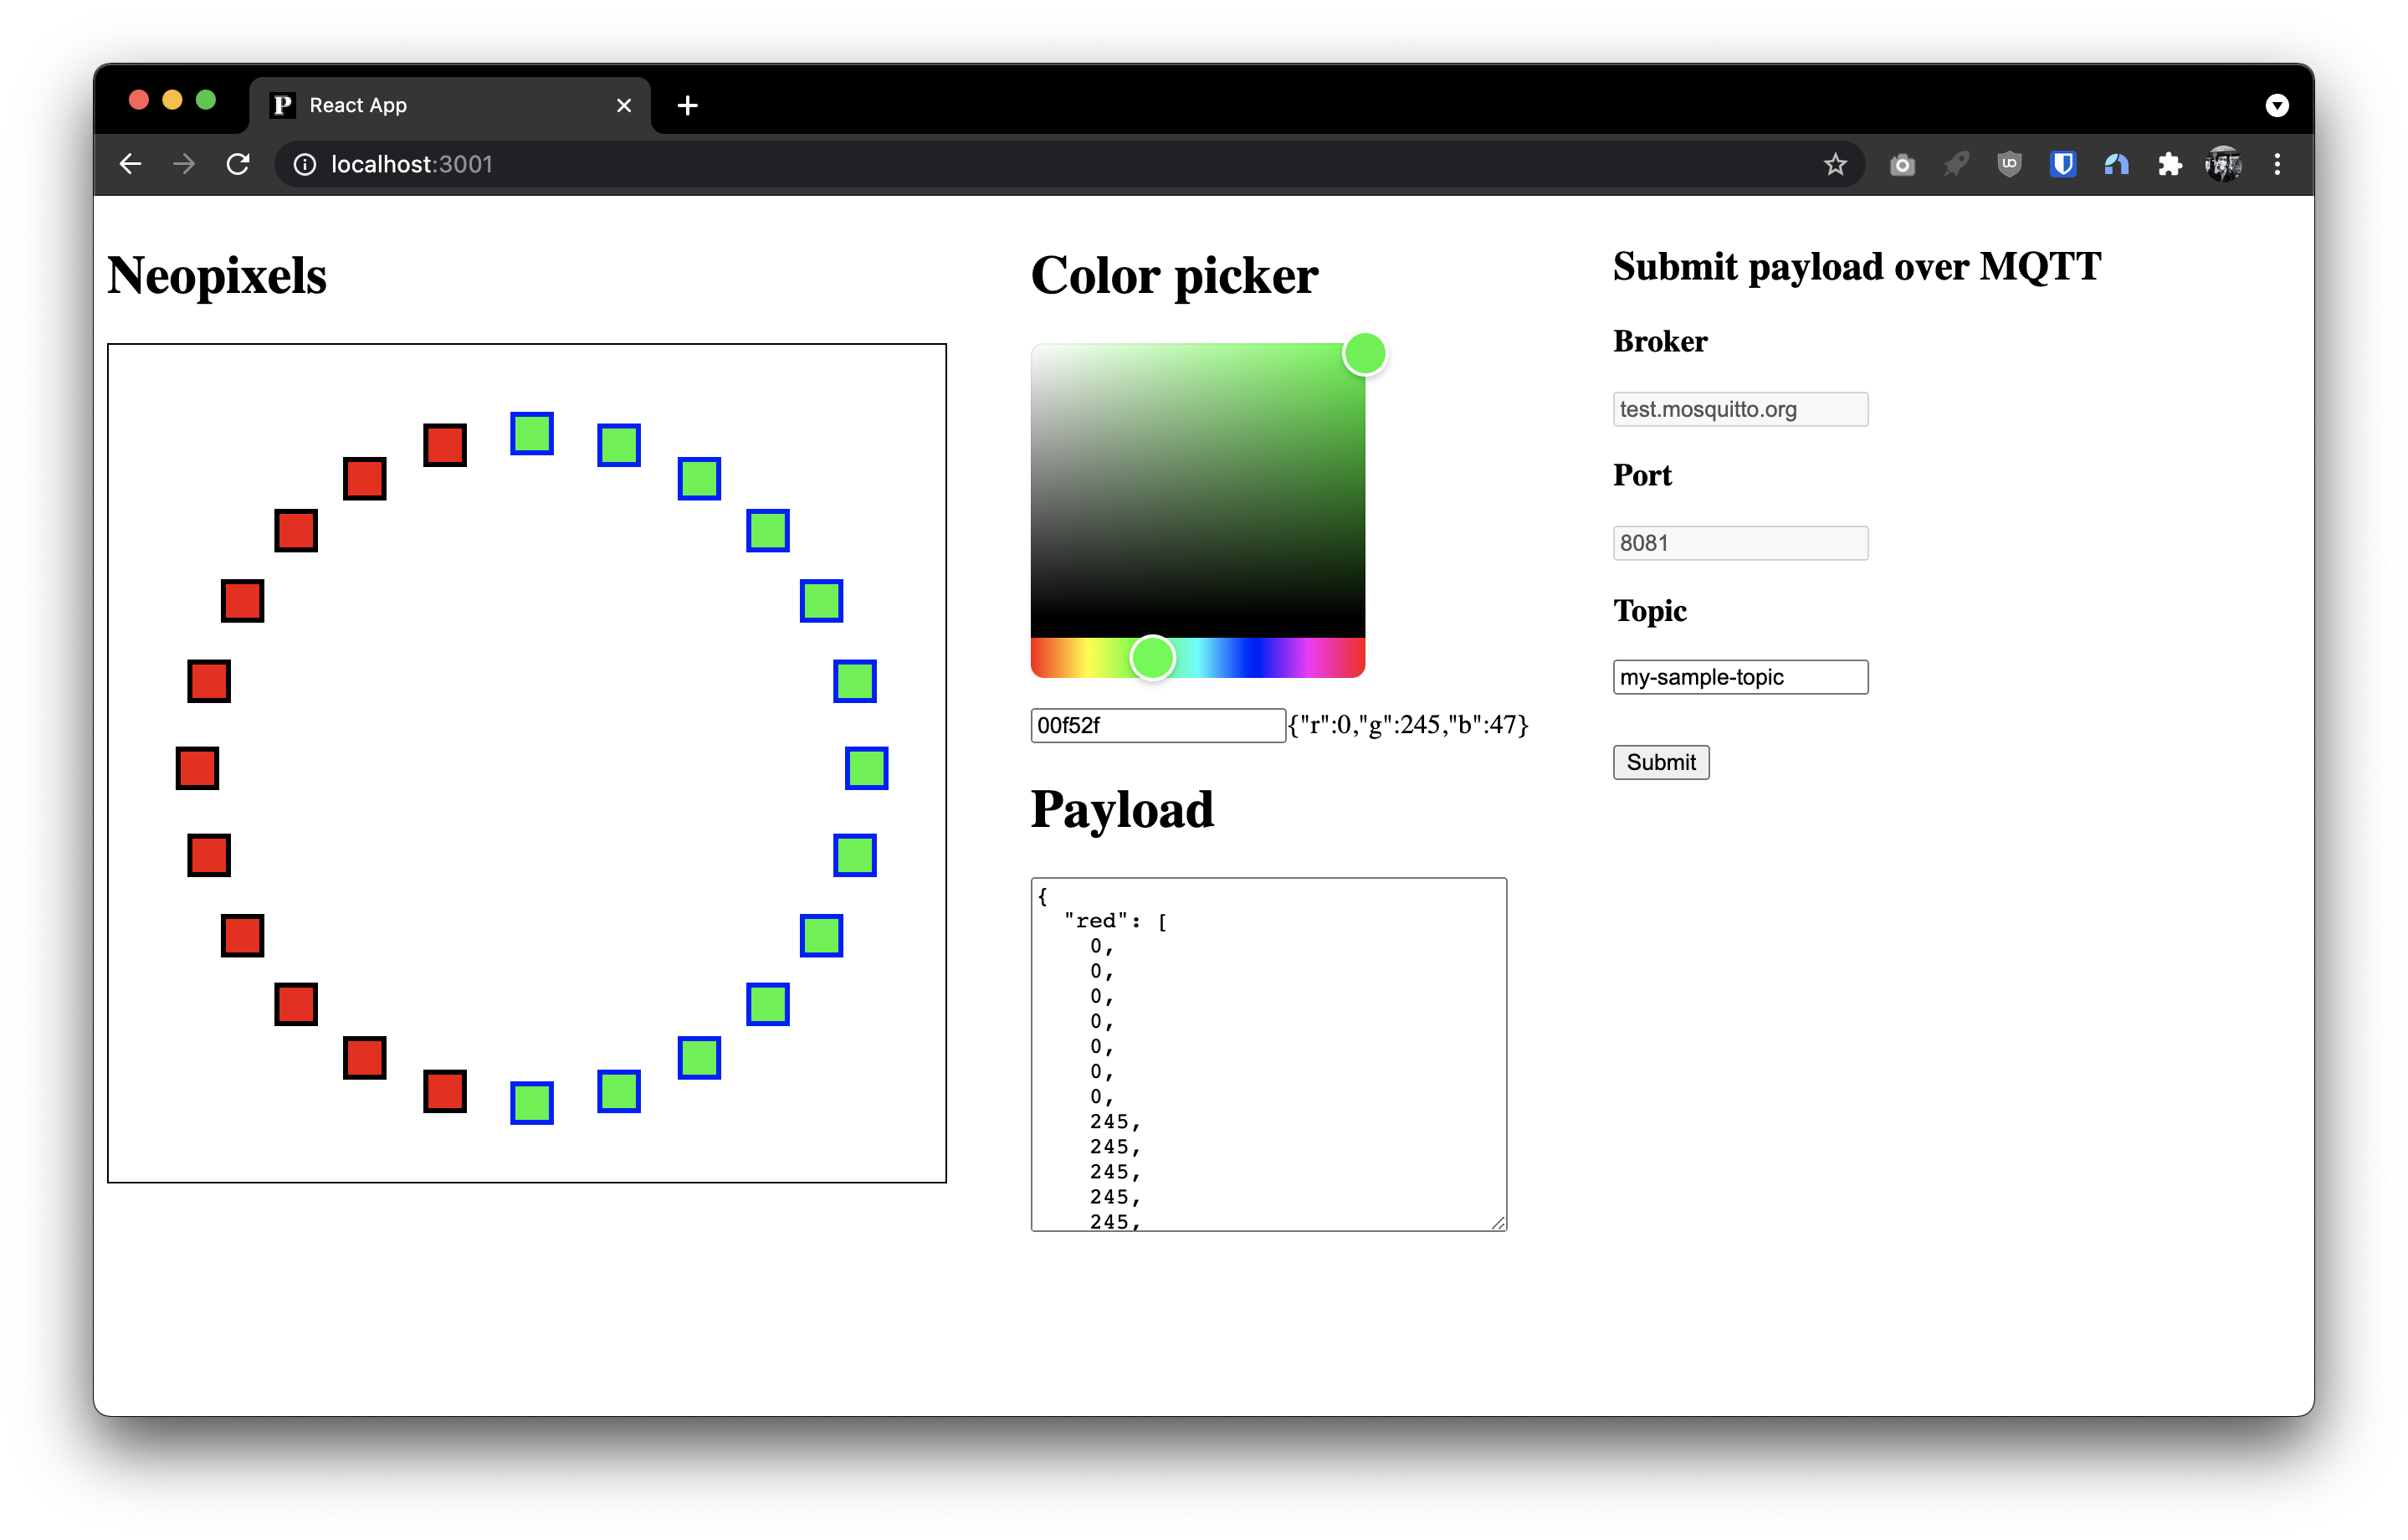
You can pair client code with Arduino in an infinite number of ways. For instance, you could extend the React app to send colors in "frames" (i.e. submit payloads in quick succession) to play an animation on the Moxel.
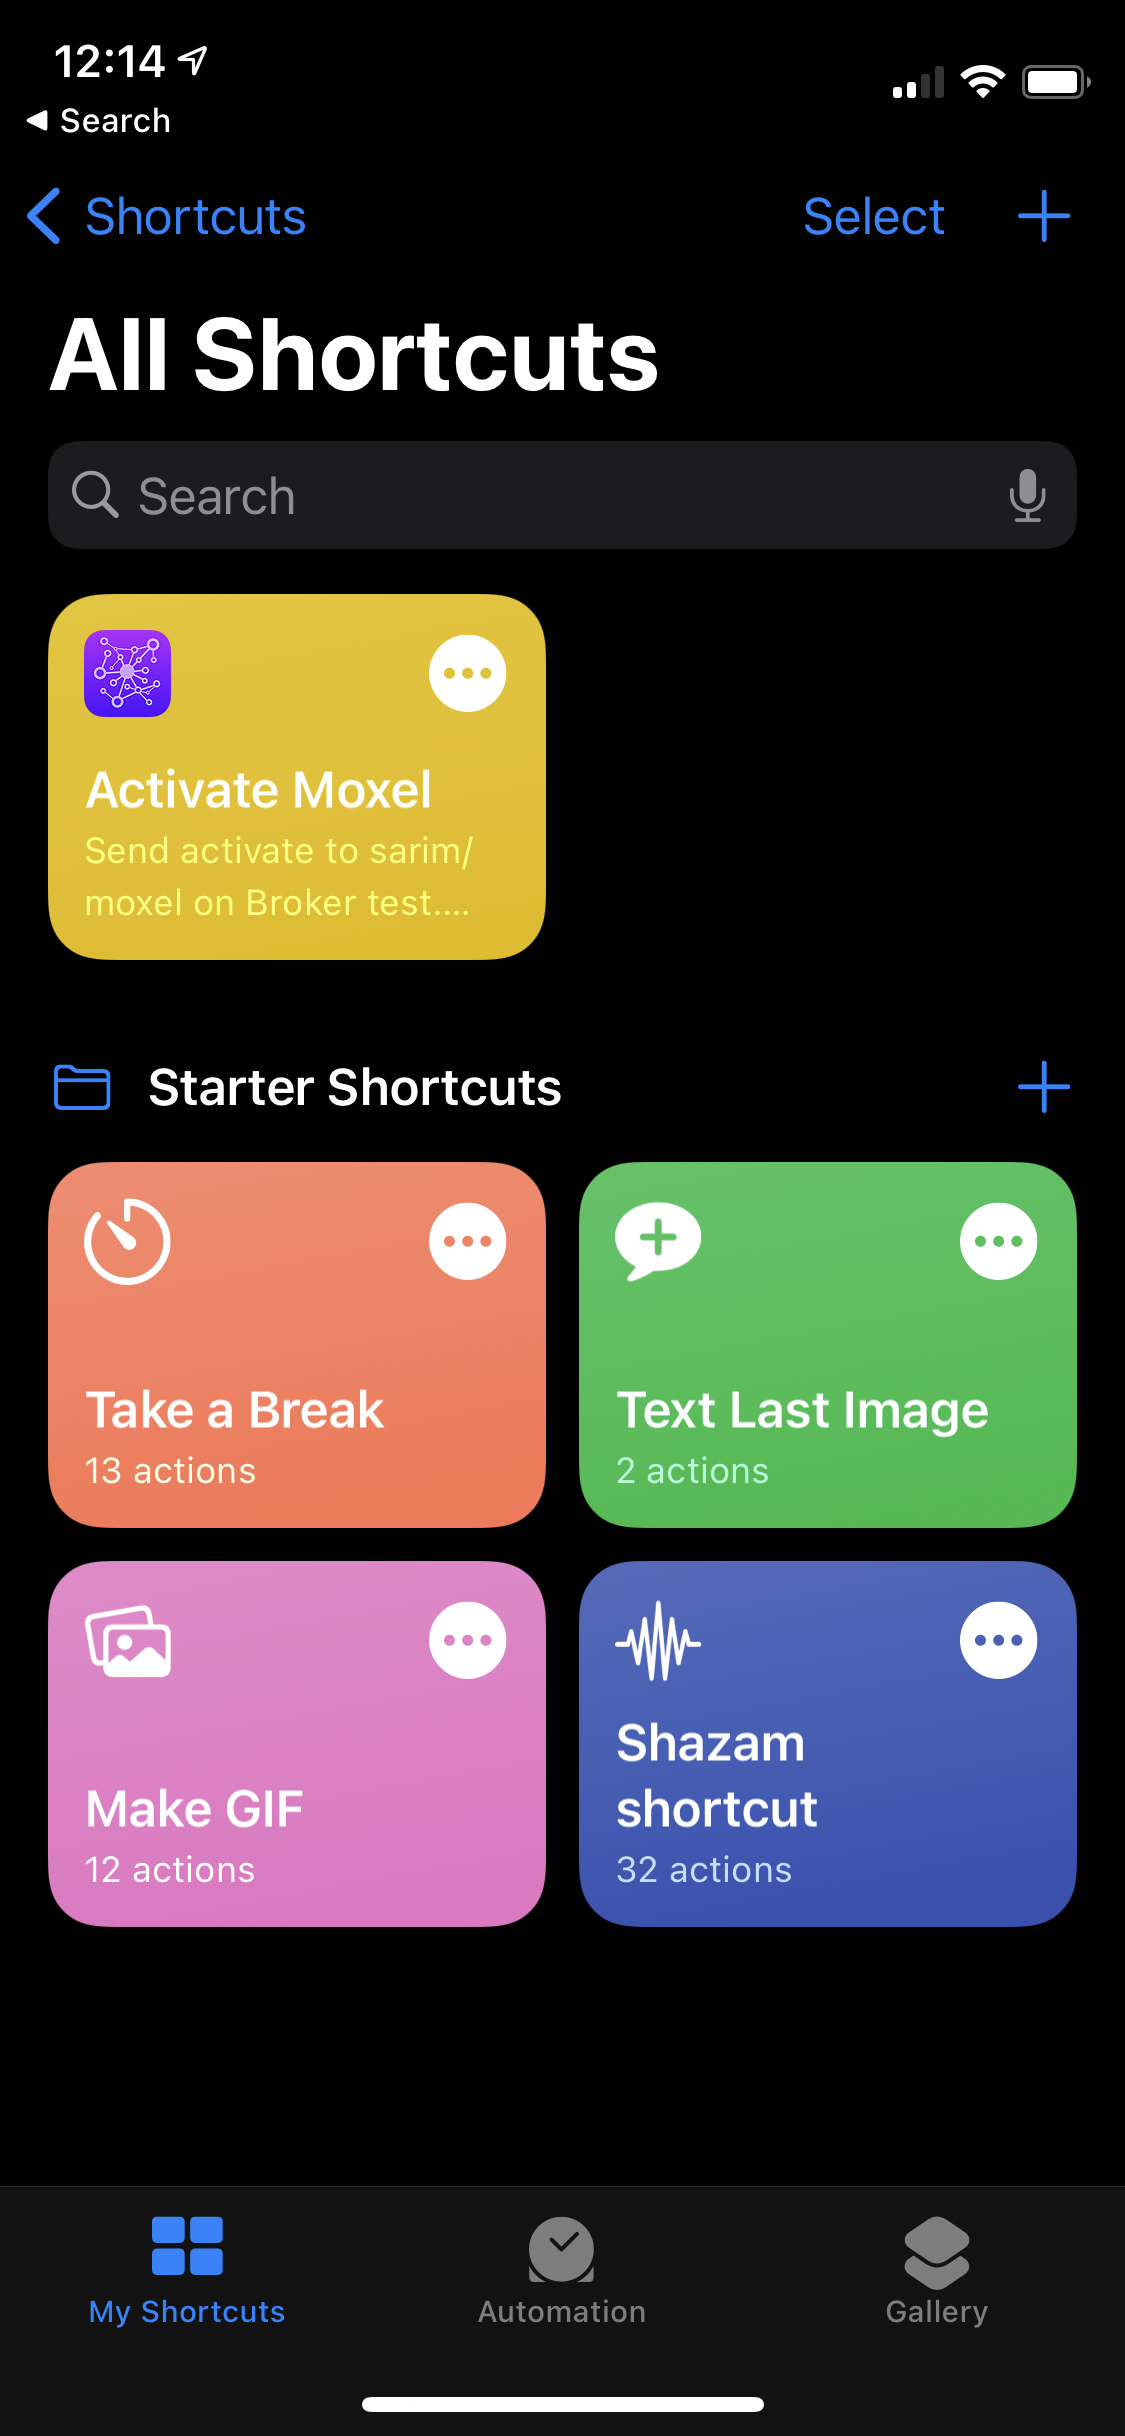
Siri shortcut
In a similar vein, you can ask Siri to activate your Moxel as well. There is an iOS app called "EasyMQTT" that will let you create MQTT Siri shortcuts for $2. Alternatively, you can use Pythonista with an MQTT library to do the same.
Internet of Things Video Workshop
If you need a more general introduction to the Internet of Things, the MQTT protocol and how to build your own Moxel, you can follow along with this workshop video here:
You can find the slides for this workshop here: https://docs.google.com/presentation/d/1b1NvScCyfVLperZ7LYEBHD9aDYtWaweG9mEgqY8DA7o/edit?usp=sharing